

WildSage Market
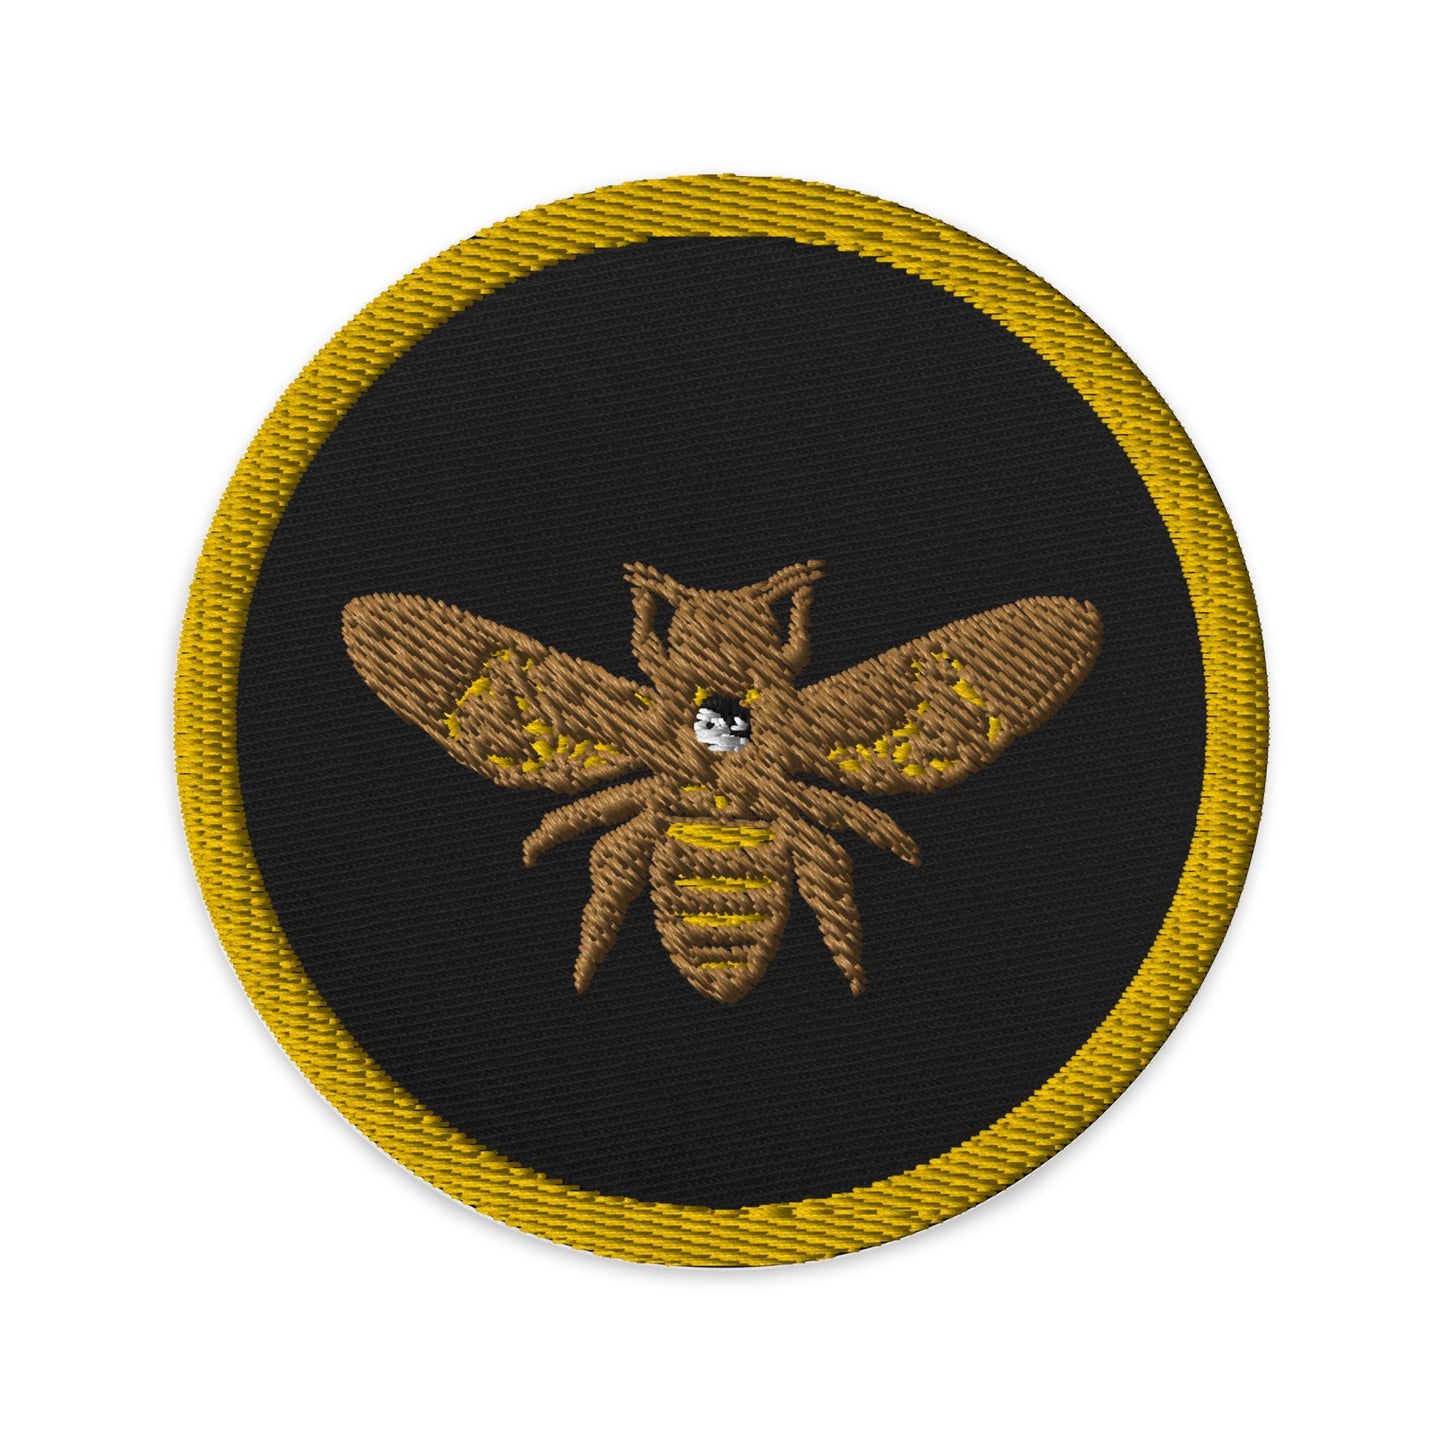
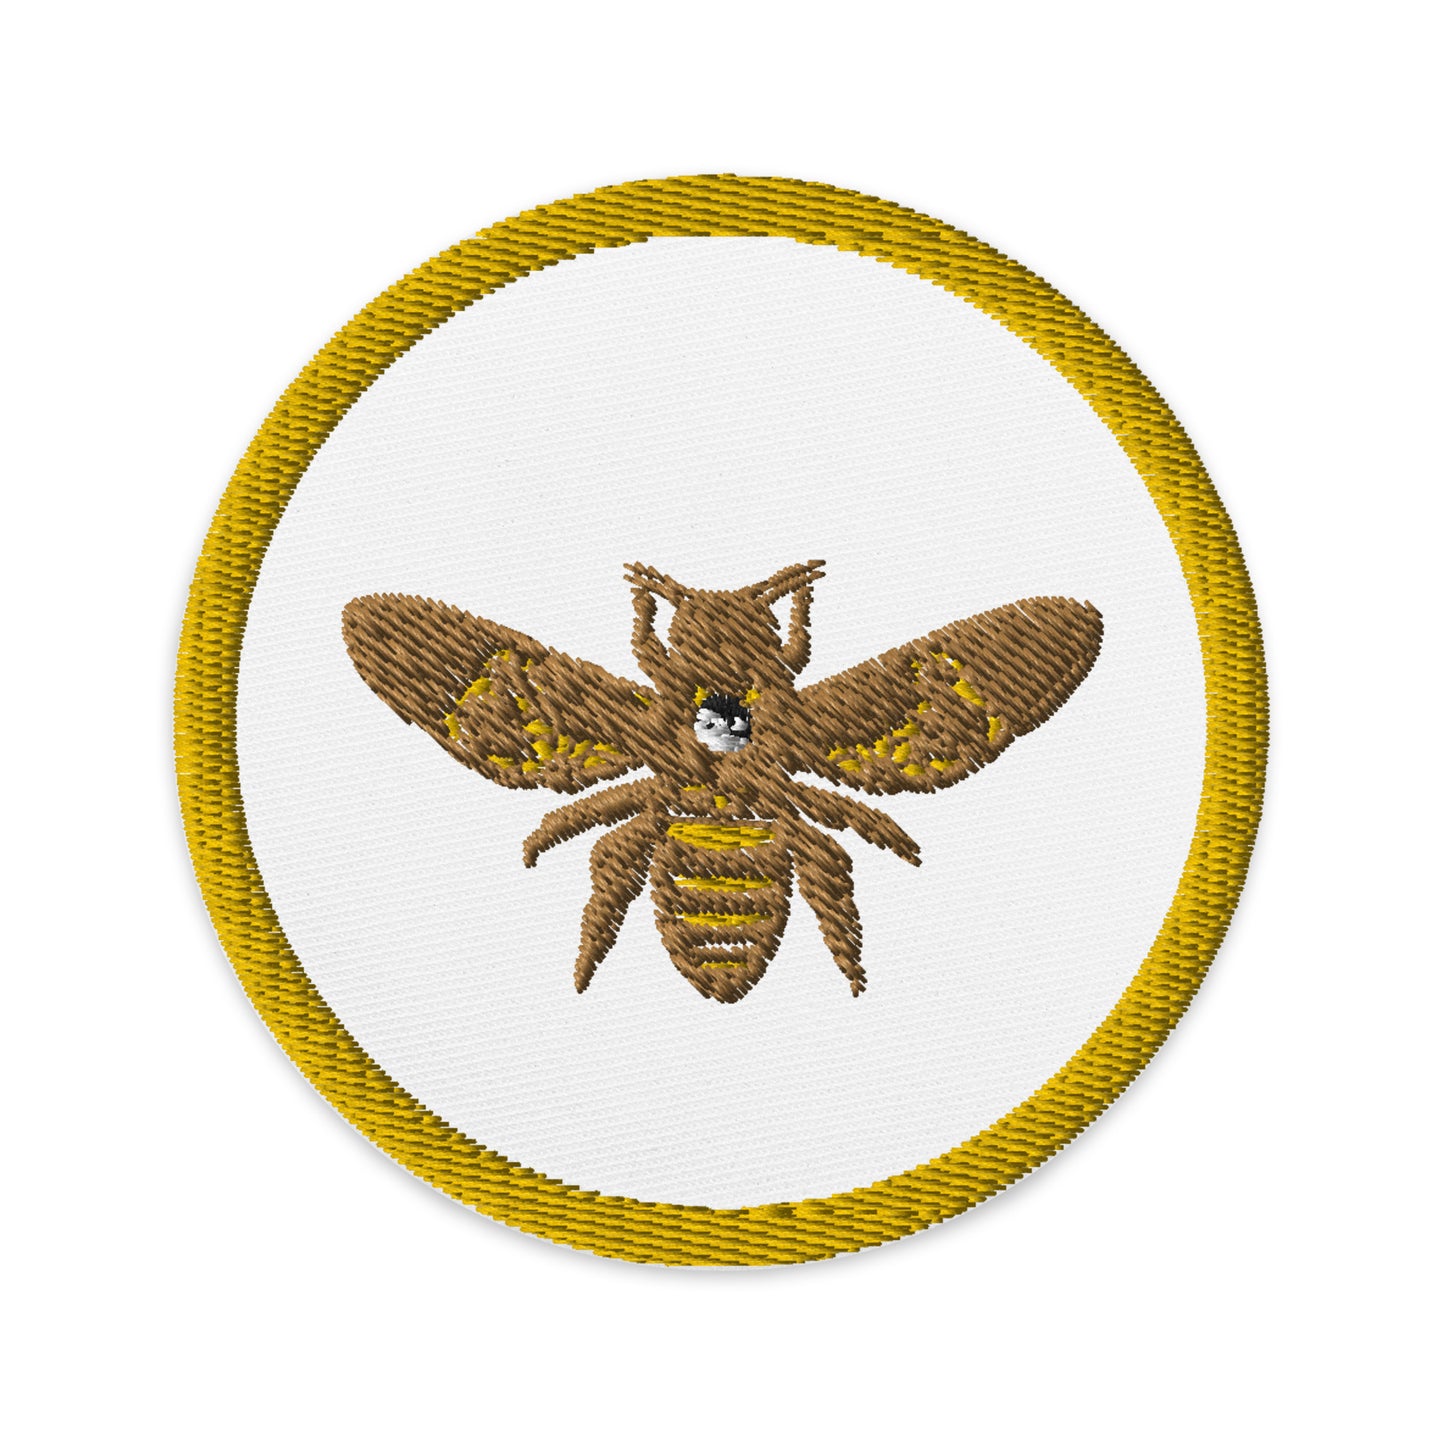
Eden Garden | Embroidered Patch | Flying Bee
Eden Garden | Embroidered Patch | Flying Bee
Couldn't load pickup availability
Share
Product Information
Personalize your style with the perfect addition of an embroidered patch. Its durable twill fabric is designed to withstand heat, making it perfect for any occasion. Get ready to elevate your outfits when you order yours today.
• 26% cotton, 74% polyester
• 3″ (7.6 cm) in diameter
• Attachment options: iron-on, sew-on, or safety pin
Follow these steps when attaching patches by iron-on backing:
- Choose the item on which you plan to attach the patch. As a general rule, the fabric you choose should be at least as heavy as the patch. Fabrics like denim and cotton provide the best base for iron-on patches.
- Lay your item on a flat, heat-resistant surface.
- Heat up the iron to the hottest setting your fabric can tolerate. Make sure the "steam" option is turned off.
- Iron the place where you plan to place the patch.
- Place a thin garment over the patch.
- Position the heated iron over the garment that you placed over the patch and press down firmly for about 25 seconds on each side.
- Remove the iron and allow the patch to cool.
- Check to see whether the patch is fixed on securely by gently rubbing at the edge with a finger. If it lifts up a bit, repeat the process.
- For a completely secure patch, use a sewing machine or a needle and thread to secure the patch to the fabric.
- Full adhesiveness will be achieved in 48 hours.
Disclaimer: Don’t wash the item more than necessary since this process may cause the patch to start coming off. If you do need to wash the item, hand wash it using cold water. Allow it to air dry. This product is made on demand.
Shipping: You have several shipping options to choose from - they can range from within 1-8 business days depending on the courier and level of service you select.
All orders are processed within 2-3 business days. Orders are not shipped or delivered on weekends or holidays.
Shipping charges for your order will be calculated and displayed at checkout.
Shipping is not available to:
Countries other than the U.S., U.S. territories and remote areas, including:
Alaska
Hawaii
Puerto Rico
Guam
American Samoa
Northern Mariana Islands
U.S. Virgin Islands
Military Bases
We have a 30-day return policy, which means you have 30 days after receiving your item to request a return.
To be eligible for a return, your item must be in the same condition that you received it, unworn or unused, with tags, and in its original packaging. You’ll also need the receipt or proof of purchase.
Read our return policy for complete information.
Sublimation printed footwear can be machine-washed cold or hot without bleach. Can be tumbled dry if necessary but it's best to air dry.
Sublimation printed footwear can be machine-washed cold or hot without bleach. Can be tumbled dry if necessary but it's best to air dry.
Size Guide
Use this table to easily convert men to women shoe size and women to men shoe size.
| US Women's Shoe Size | US Men's Shoe Size | Foot Length in Inches |
|---|---|---|
| 6 | 4.5 | 9 |
| 6.5 | 5 | 9 1/6 |
| 7 | 5.5 | 9 1/3 |
| 7.5 | 6 | 9 1/2 |
| 8 | 6.5 | 9 2/3 |
| 8.5 | 7 | 9 5/6 |
| 9 | 7.5 | 10 |
| 9.5 | 8 | 10 1/6 |
| 10 | 8.5 | 10 1/3 |
| 10.5 | 9 | 10 1/2 |
| 11 | 9.5 | 10 2/3 |
| 11.5 | 10 | 10 5/6 |
| 12 | 10.5 | 11 |
| 12.5 | 11 | 11 1/6 |
| 13 | 11.5 | 11 1/3 |
|
|

1. Place your foot on a sheet of paper on the floor. Secure the paper with tape to prevent it from moving.
2. Use a pen to draw the outline of your foot. Make sure the pen is straight up, perpendicular to the paper.
3. Find the longest point from your heel to your longest toe and measure this distance. Use this measurement with a shoe size chart or calculator to find your correct shoe size.
TIP: If shoes often feel tight, measure both feet and use the measurement of the larger foot for shoe shopping. If there’s a big difference between your feet’s sizes, consider custom shoes or insoles.